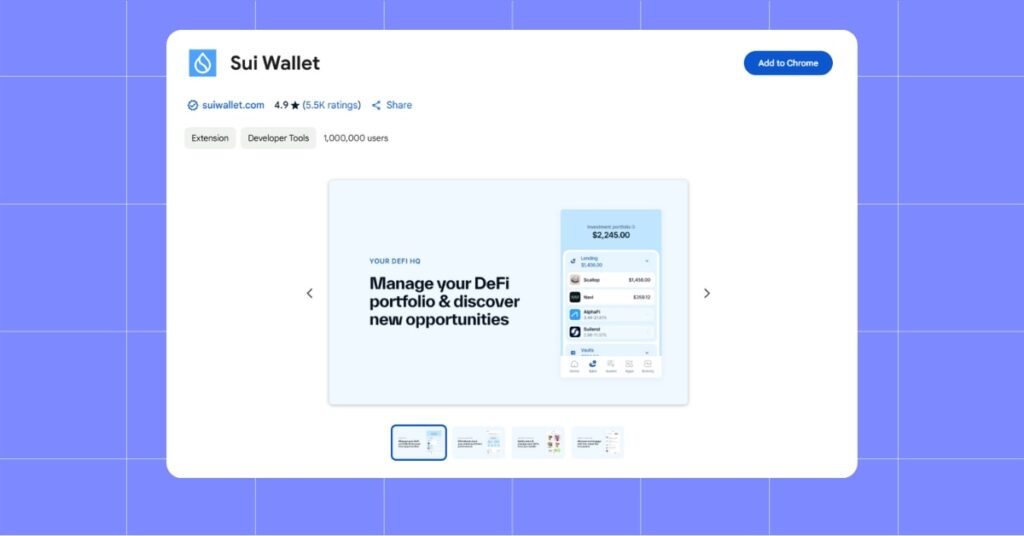
A Sui wallet will allow you to transfer, receive, and hold SUI tokens with the added bonus of being able to interact with dApps within the ecosystem. This article is a quick, well-detailed guide that will lead you to successfully set up your very first Sui wallet with ease.

Steps to Set Up a SUI Wallet
Step 1: Choose a Wallet
Sui supports several wallets, each offering different features. Here are some popular options:
- Sui Wallet – The blockchain native-built by the Sui Foundation with user ease to access the blockchain.
- Ethos Wallet – Features a token trade with a built-in address book.
- Suiet Wallet – Features a web3 browser to navigate Web3 apps.
- Martian Wallet – Secure multi-chain wallet with user-friendliness.
- Fewcha Wallet – Simplified with the backing of NFT.
All wallets also contain the support functions of sending and receiving the SUI token. Besides this, other functions like minting NFTs, trading, etc., are also present in certain wallets. Multiple wallets can also be installed if need be.
In this article, we will use Sui Wallet as an example.
Step 2: Install the Wallet
Most Sui wallets are mobile apps that can be downloaded and Chrome extensions. To install a wallet of yours, simply follow these steps:
For Chrome Extensions:
- Open the Chrome Web Store.
- Search for your preferred wallet (e.g., “Sui Wallet”).
- Click Add to Chrome and confirm the installation.

For Mobile Apps:
- Open the Apple App Store or Google Play Store.
- Search for the wallet you want to use.
- Tap Install, then wait for the app to download.
After installation, the wallet icon should appear in your browser toolbar or mobile home screen.
Step 3: Create a Wallet Account
Once installed, follow these steps to create an account:
- Open the wallet extension or app.
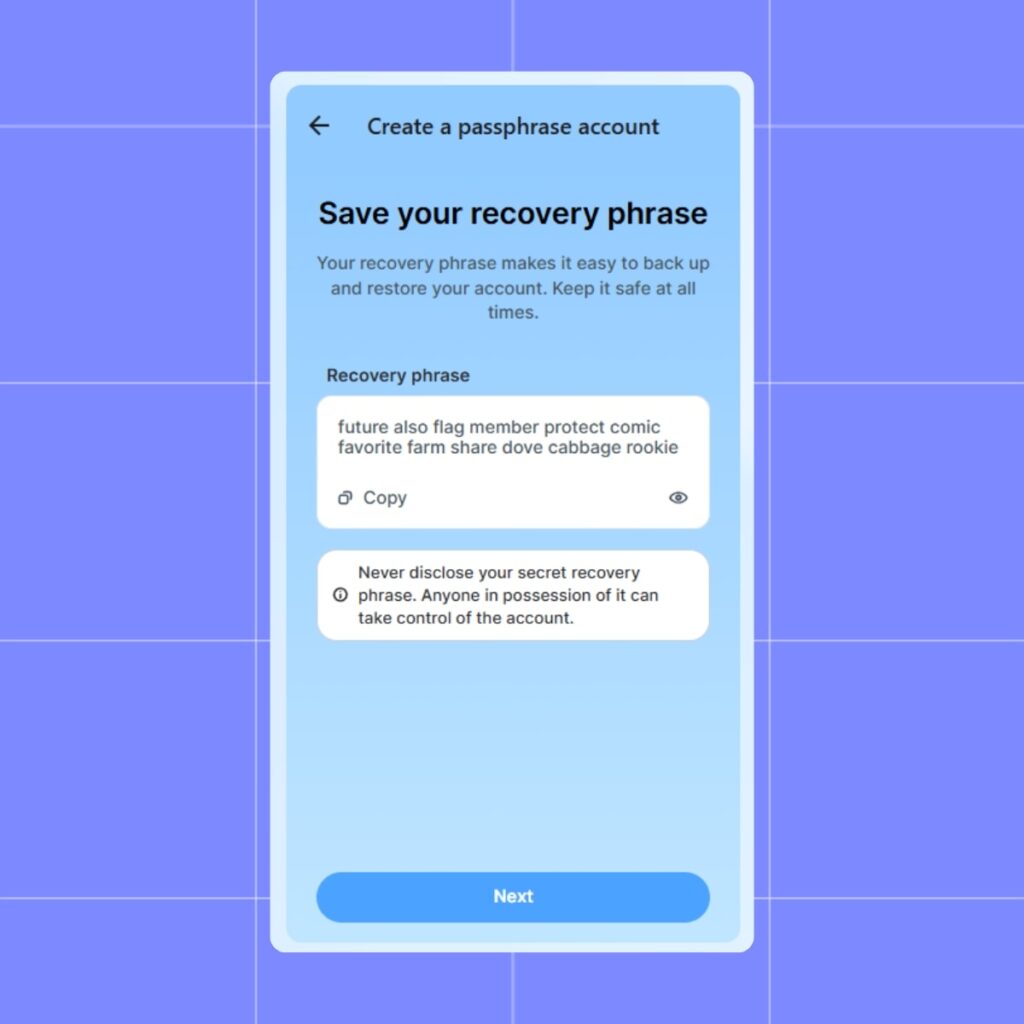
- Click Create a new passphrase account.
- Some wallets allow sign-in using Google, Facebook, or other services via zkLogin.
- If manual setup is required, create a strong password (use letters, numbers, and special characters).
- The wallet will generate a 12-word recovery phrase (also called a seed phrase).
- Write down your recovery phrase and store it securely offline. Note that this is the only way to recover your wallet if you lose access.

Step 4: Fund Your Wallet
To start using your wallet, you need to add SUI tokens. You can buy SUI from centralized exchanges like Binance, Coinbase, or Gemini. Then, transfer your tokens to your wallet by following these steps:
- Open your wallet and locate your public key (a long alphanumeric address).
- Copy the public key and paste it into the withdrawal section of your exchange.
- Confirm the transaction, and your wallet should reflect the new balance within minutes.
Security Tips
- Never share your recovery phrase with anyone.
- Enable two-factor authentication (2FA) if your wallet supports it.
- Only connect your wallet to trusted websites and applications.
Conclusion
Setting up a Sui wallet is the beginning of discovering the immense possibilities of the Sui blockchain. With the proper choice of wallet, proper protection of the account, and the fund with the SUI token, you can begin to interact with Web3 apps, trade digital assets, and access decentralized finance. It is very important to exercise the best-security measures to have a smooth and secure experience.
Share on Social Media:
