Main Takeaways
- This article covers some key terms you need to understand before creating a software wallet.
- A complete guide how to set up a wallet on TronLink and Trust Wallet is provided.
Setting Up a TRON Wallet
Introduction
TRON is currently one of the most prominent blockchains in the crypto market. Its free transaction fees are the reason many choose it to transfer crypto. However, before making any transactions, users need to set up a TRON wallet first. In this article, we will show you step-by-step how to create a TRON wallet.
What is a TRON Wallet?
A TRON wallet is a wallet that can be used to stake and transfer TRX, the native coin of the TRON blockchain. It is necessary to obtain a TRON wallet if you want to interact with the blockchain.
Key Terms in Wallet Security
There are some key terms you need to understand before setting up a wallet.
- Public Key (Wallet Address): This is like your bank number. You need a person’s bank number to send funds, just like you need a wallet address to send TRON to them.
- Secret Key (Private Key): This is the password to your bank account. Anyone can have full control of your wallet if they know your private key, so be extremely careful with it.
- Keypair: The keypair of a wallet is the public and private key of that wallet.
- Mnemonic (Recovery Phrase): This is the only way to recover your wallet if you lose your private key. This is as important as the private key, so don’t reveal it to anyone.
Types of TRON Wallets
There are several types of wallets with different benefits and drawbacks
1. Software Wallet
Software wallets are available as browser extensions or mobile apps. These wallets are convenient and secure, making them ideal for everyday use. However, they are still at risk of cyberattack. They are basically PayPal for crypto.
2. Hardware Wallet
These wallets are like metal safes for your crypto. They are immune to online attacks. Even if someone physically steals these wallets, they still don’t have access to the coins inside without the private keys. Despite being the most secure way to store tokens, many hesitate to use hardware wallets due to the inconvenience.
3. Paper Wallet
When you print or write down your key pairs on paper, you are using a paper wallet. This is the most impractical way, as it can easily be lost or damaged.
Security Considerations
Most people choose to use well-known software wallets, like TronLink or Trust Wallet, which offer both convenience and security. However, if you see security as the top criterion, a hardware wallet like Ledger would be perfect.
- Backup: Always back up the private key and the recovery phrase of your wallet. No words can stress this enough.
- Additional Features: You should choose wallets that require multiple password layers, like 2FA or OTP, to ensure the safety of your assets.
Step-by-Step Guide to Create a TRON Wallet
TronLink is the official wallet developed by the TRON team, and Trust Wallet is the most well-known and widely-used wallet for TRON. We will guide you on how to create these two wallets right on the browser.
TronLink
Step 1: Visit the Install Page
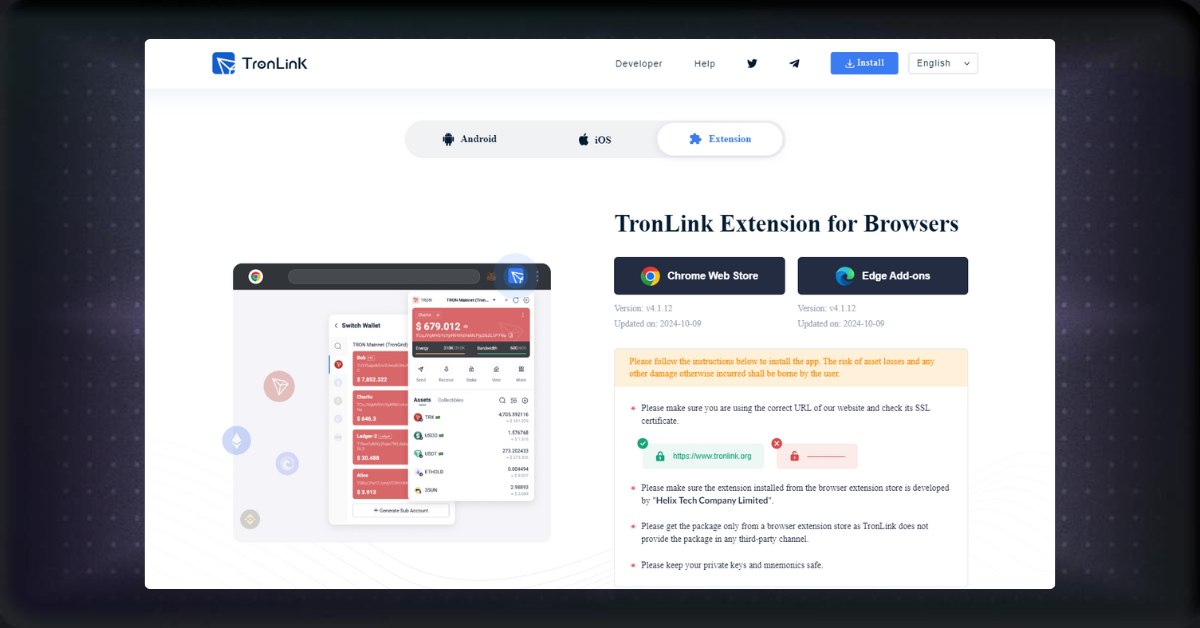
Go to the TronLink install page and click on the Extension tab. In this tab, click on the browser you wish to install. We choose Chrome in this case.
Visit the TronLink install page
Step 2: Add Chrome Extension
Click “Add to Chrome,” then click “Add extension” on the pop-up.
Step 3: Create a New Wallet
Once the extension is installed, open it and click on “Create New Wallet.” Scroll down and click “I agree, no more reminders.”
Step 4: Add The Password
Change the wallet name and add the password to your wallet. After that, click “Create Wallet”.
Step 5: Back Up Mnemonic
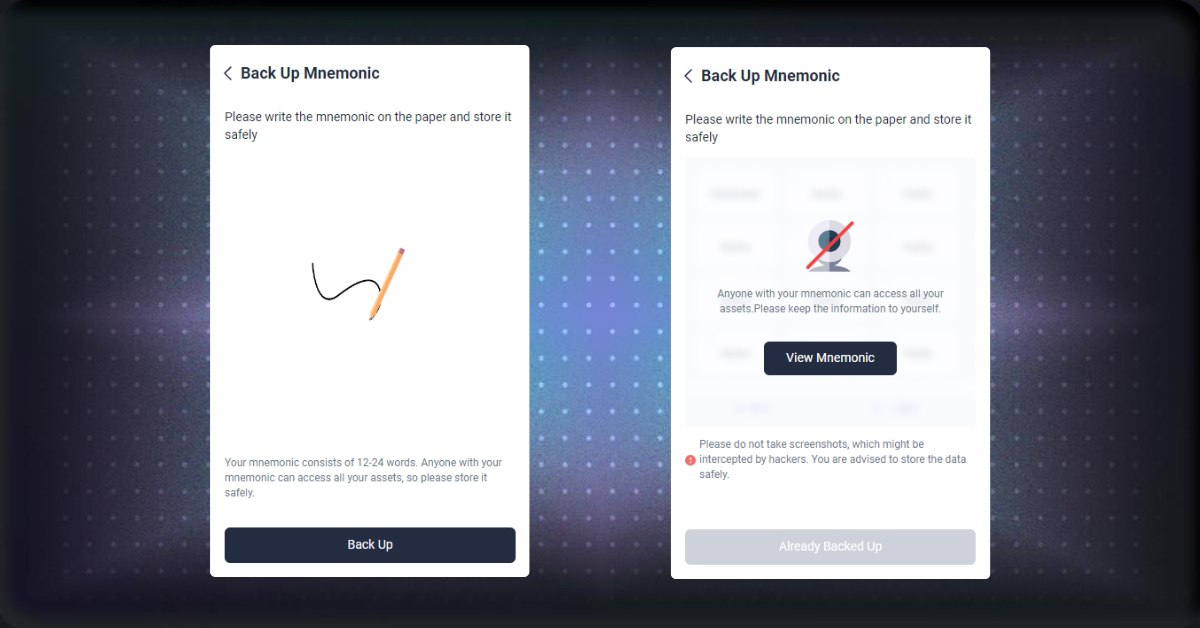
TronLink will require you to back up your mnemonic of 12 random words. Click “Back Up Wallet”, enter your password, and confirm.
Then click “Back Up,” “View Mnemonic,” and write them down.
Backup your recovery phrase
Step 6: Verify The Mnemomic
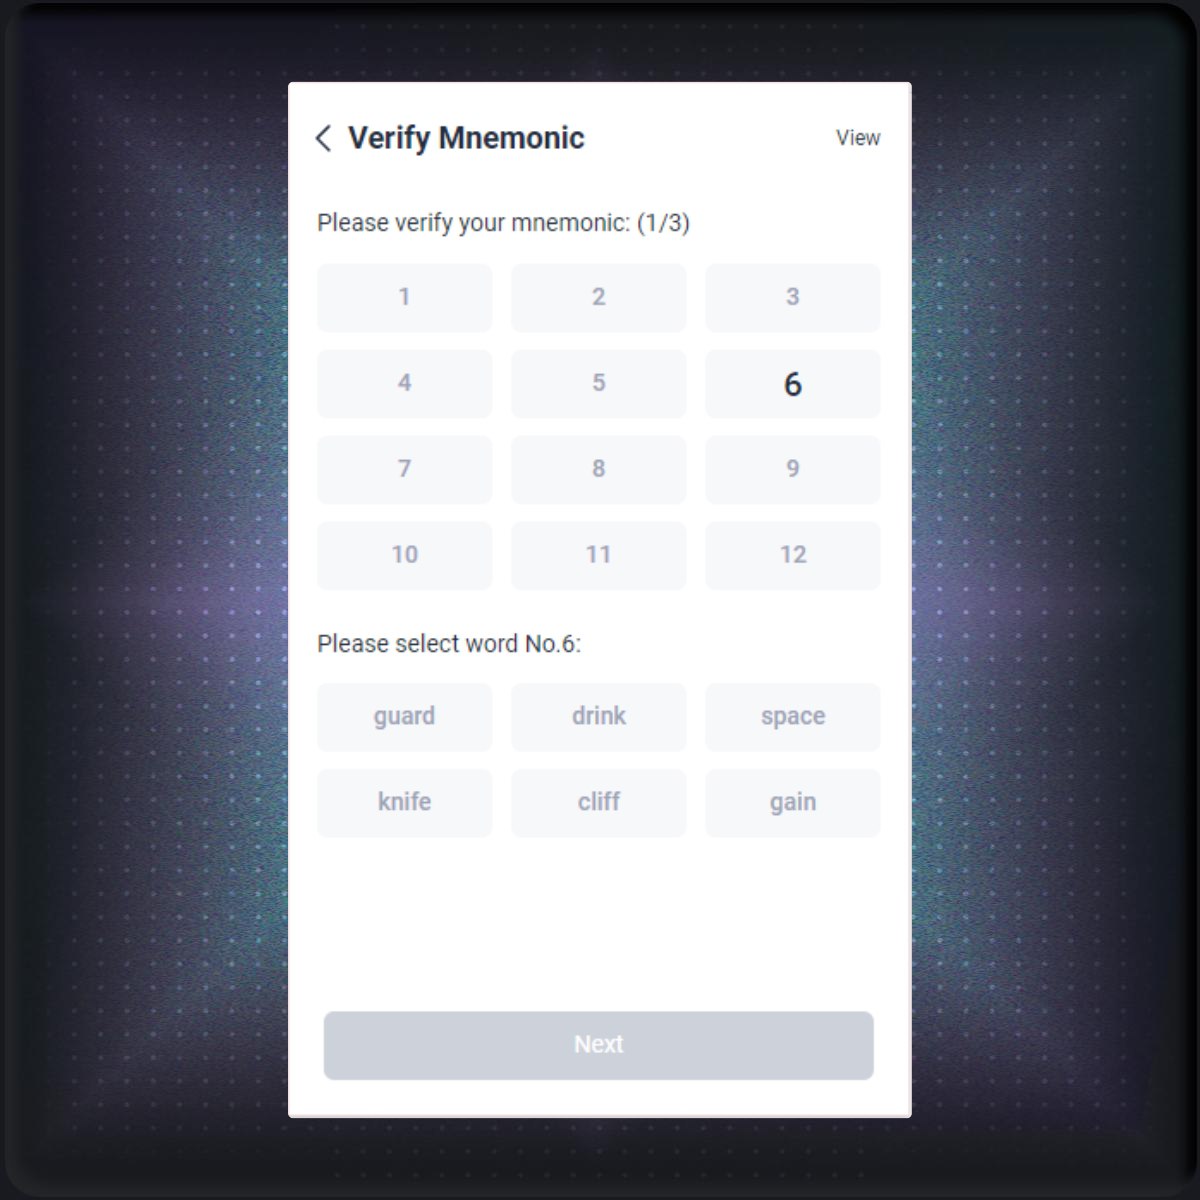
TronLink will require you to confirm that you saved the mnemonic. Click “Already Backed Up,” and choose the word according to the position required by TronLink.
Verify the mnemonic and finish setting up your wallet
Trust Wallet
Step 1: Visit the Trust Wallet Download Website
Head over to the Trust Wallet download page and choose “Download for Chrome.”
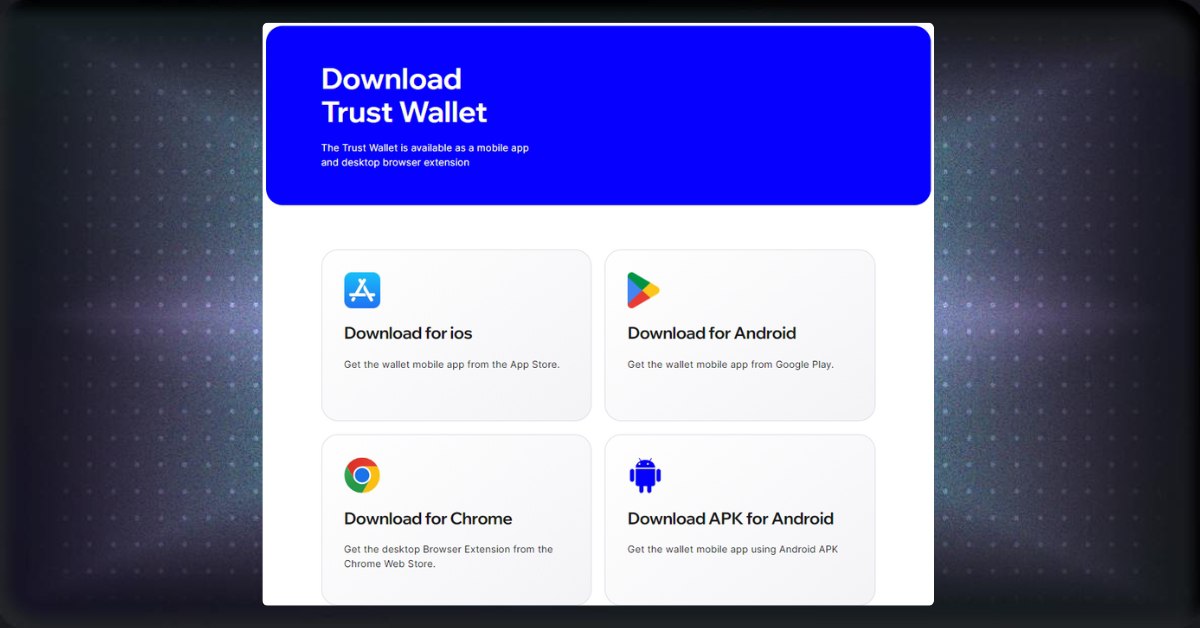
Trust Wallet download page
Step 2: Add Chrome Extension
Click “Add to Chrome,” then click “Add extension” on the pop-up.
Step 3: Create a New Wallet
After installing the extension, open it and click “Create a new wallet.”
Step 4: Add The Password
Add the password to your wallet, then click “I have read and agree to the Terms of Services” to continue.
Step 5: Share Data
You can either choose to share your data or not at this step. Then click “Open wallet,” and your wallet is set.
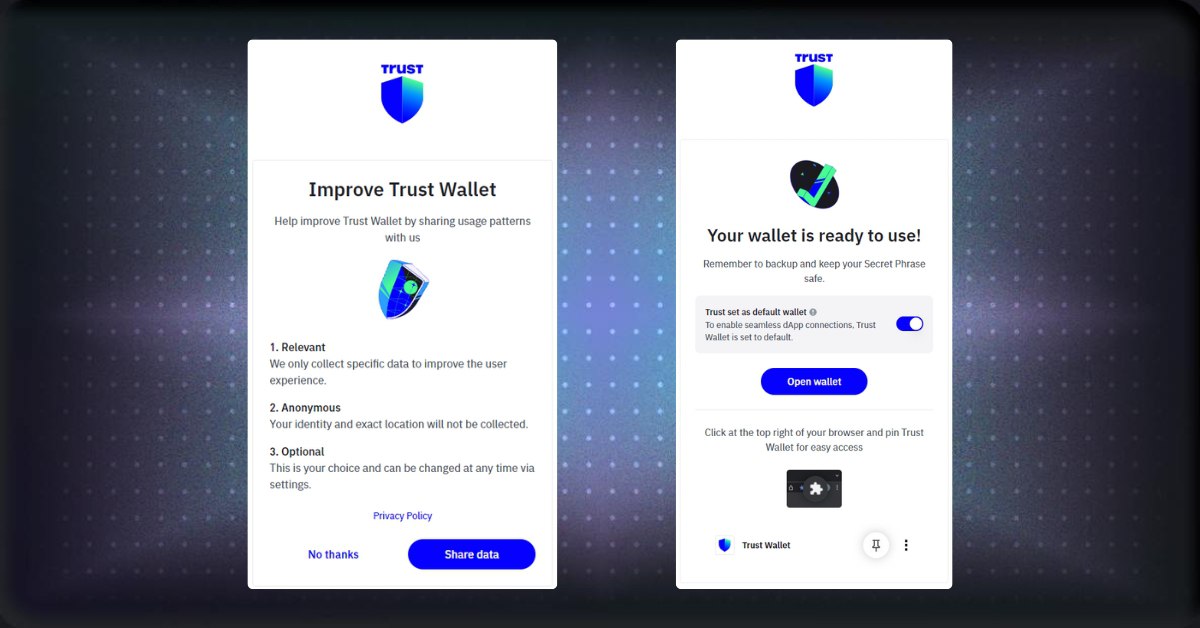
Finish setting up your wallet
Conclusion
To interact with the TRON blockchain, choosing the right wallet is important. In this article, we have covered some key terms you need to understand, as well as show you how to create a wallet with TronLink and Trust Wallet. Remember, always back up your private key and recovery phrase!
Share on Social Media:
